Difference between revisions of "XTerm on Windows using Putty and XMing"
Jump to navigation
Jump to search
| Line 23: | Line 23: | ||
https://lh3.googleusercontent.com/-8p_6FYS85jA/UwuOA4tlx_I/AAAAAAAAdWc/u3ogK0MgU74/w254-h56-no/xterm5.png | https://lh3.googleusercontent.com/-8p_6FYS85jA/UwuOA4tlx_I/AAAAAAAAdWc/u3ogK0MgU74/w254-h56-no/xterm5.png | ||
* Launch XTerm app. | * Launch XTerm app. | ||
| + | |||
| + | [[Category:Windows]] | ||
Latest revision as of 13:25, 24 February 2014
Downloads
- Putty http://www.chiark.greenend.org.uk/~sgtatham/putty/download.html
- XMing http://sourceforge.net/projects/xming/
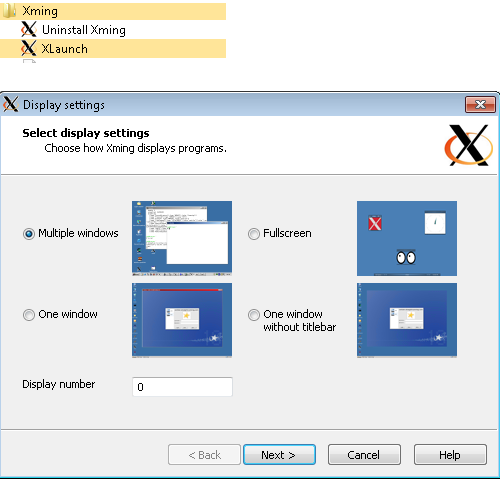
Install and Configure XMing
- Double-chick on the downloaded binary to start installation.
- Follow all the instruction steps.
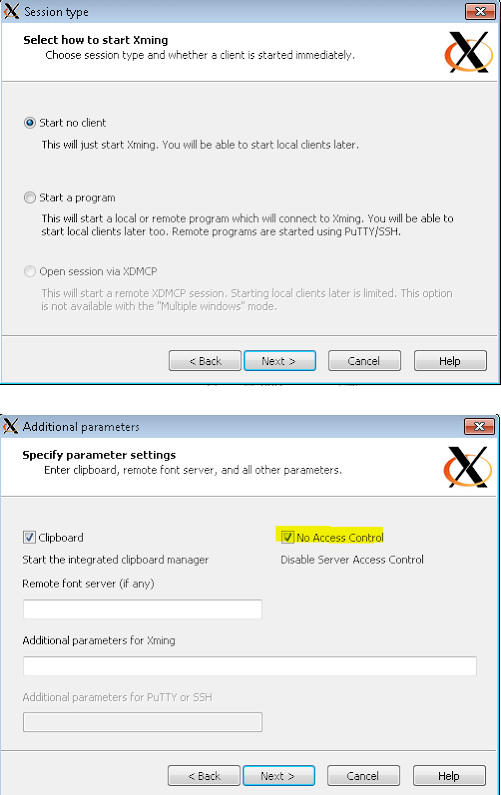
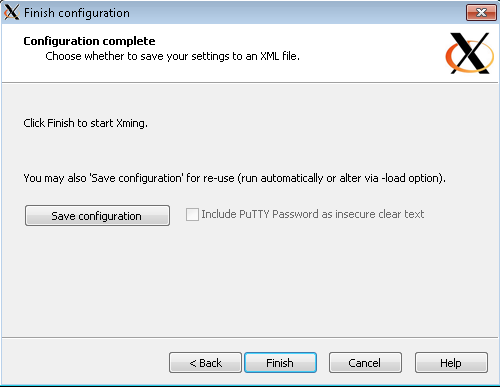
- Once installation is completed, start XLaunch.
- Make sure "No Access Control" is checked.
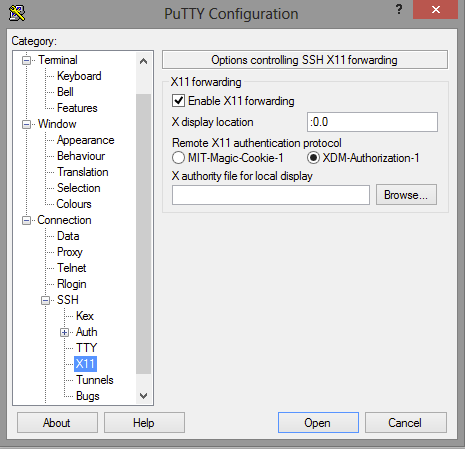
Configure Putty
- In Putty, for the connection that requires Xterm, make sure that "Enable X11 forwarding" is checked with :0.0 in the X display location.
- Export DISPLAY=Host:0.0 where Host is the Windows host name or IP address.

- Launch XTerm app.