Difference between revisions of "Oracle 12c (12.1) Standalone Database Installation on Oracle Linux 6"
Jump to navigation
Jump to search
| Line 71: | Line 71: | ||
[[Category:Oracle Database]] | [[Category:Oracle Database]] | ||
| − | [[Category: | + | [[Category:Oracle 12c]] |
[[Category:12c]] | [[Category:12c]] | ||
[[Category:Oracle Installation]] | [[Category:Oracle Installation]] | ||
Latest revision as of 21:49, 29 June 2013
- Download the installation files from http://www.oracle.com/technetwork/database/enterprise-edition/downloads/index.html
- Click Next.
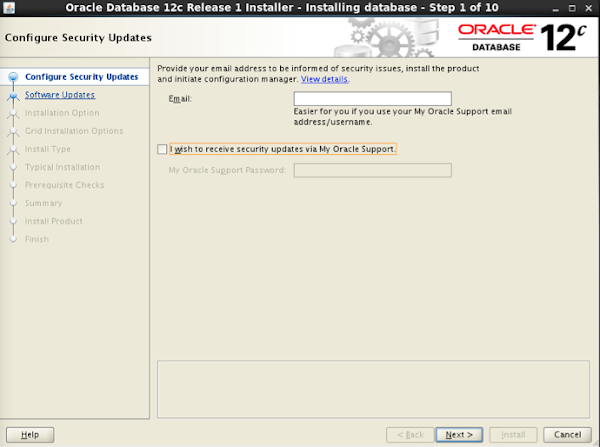
- Choose Skip software update then click Next.

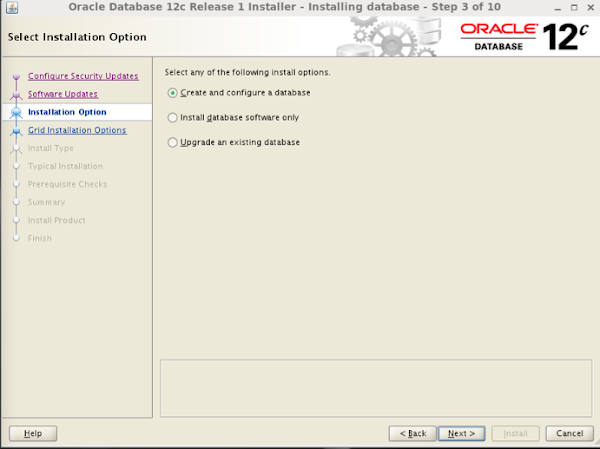
- Choose Create and configure a database.
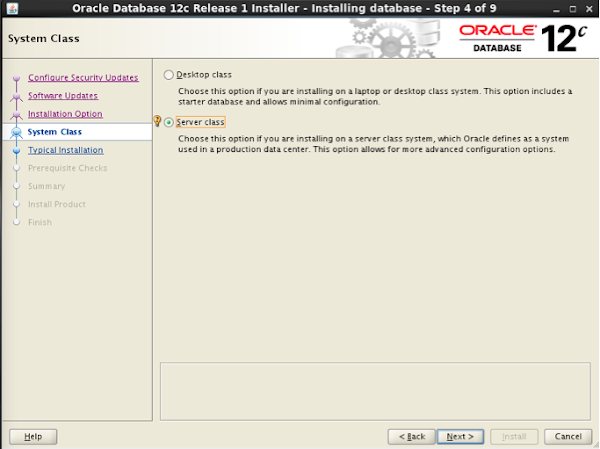
- Choose Server class.
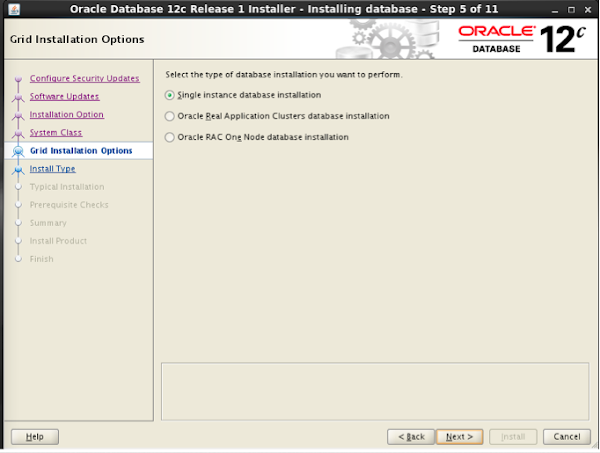
- Choose Single instance database installation.
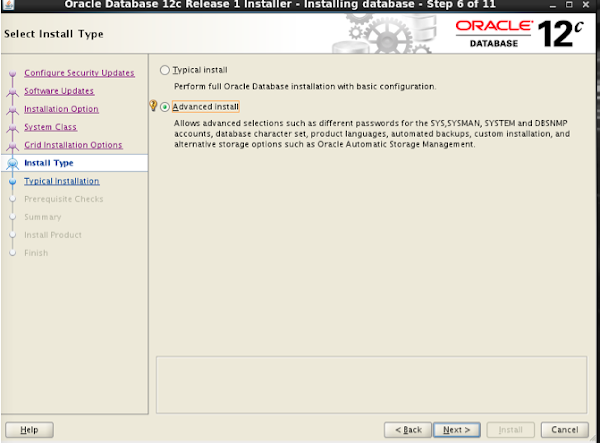
- Choose Advanced install.
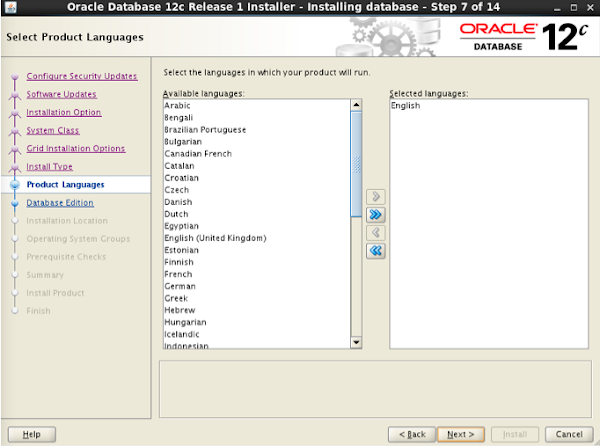
- Choose appropriate language.
- Choose Enterprise Edition.

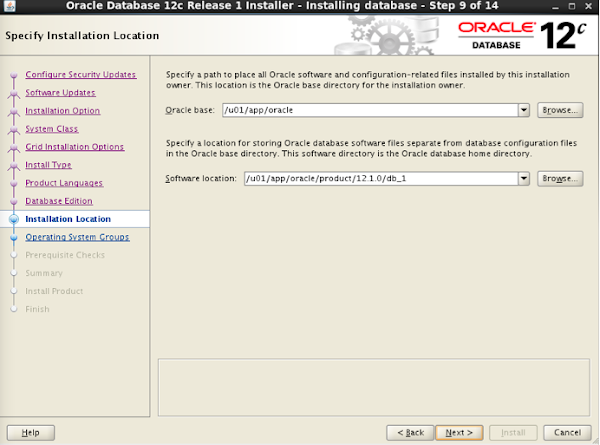
- Specify installation locations.
- If this is the first time, you will get prompted for the Inventory information.

- Choose the type of database.

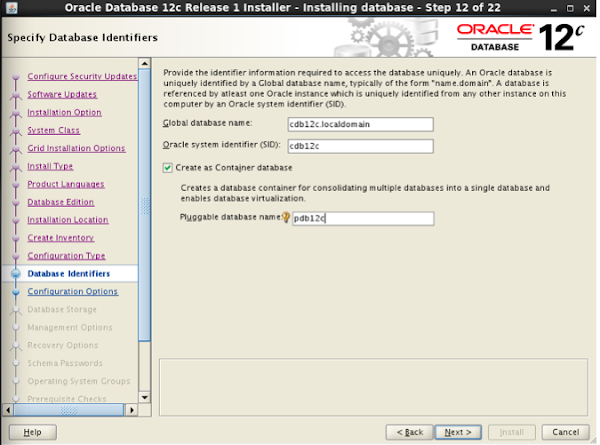
- Specify the name of the database name and container database name.
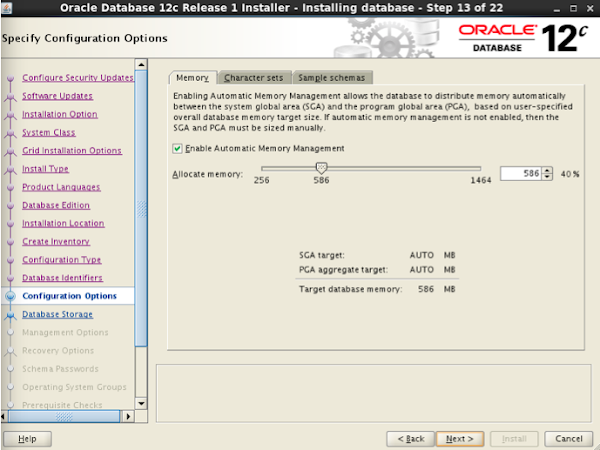
- Specify the amount of memory allocation, character sets, and whether or not to install the sample schemas.
- Specify the location of database storage.

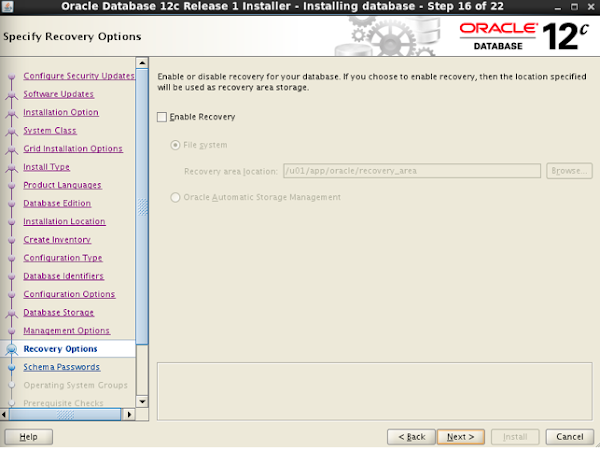
- Choose whether or not to enable recovery.
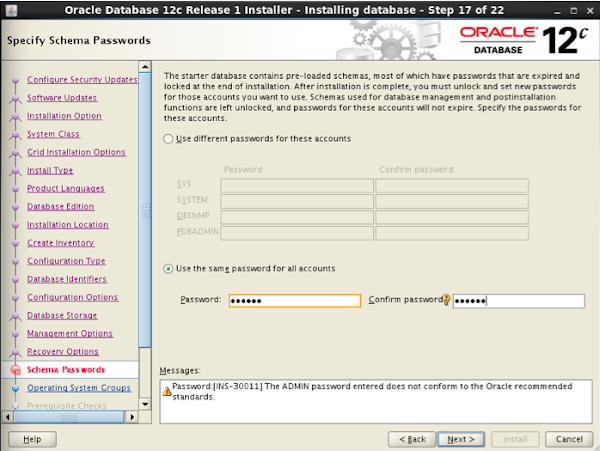
- Specify the schema passwords.
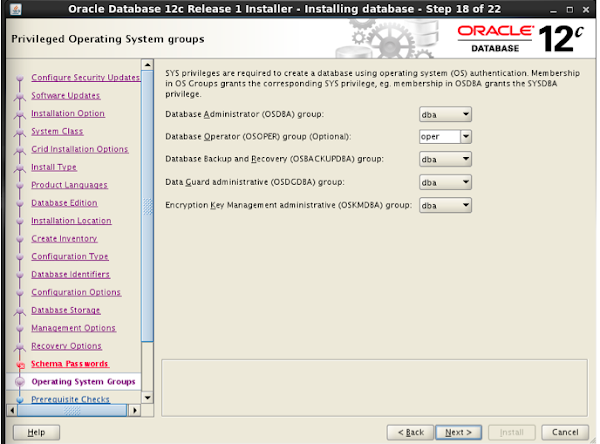
- Specify appropriate OS groups.
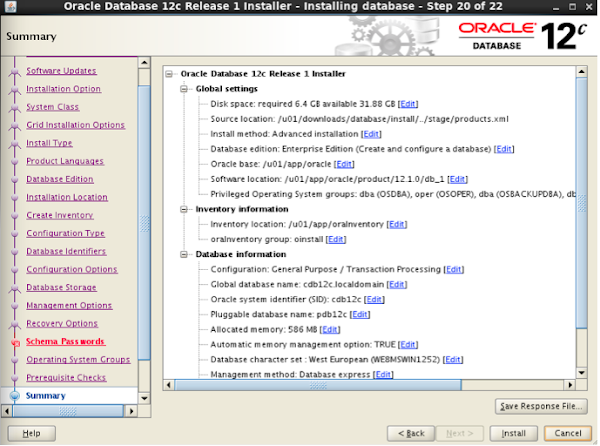
- If needed, review all selections. Click Install to proceed with the installation.
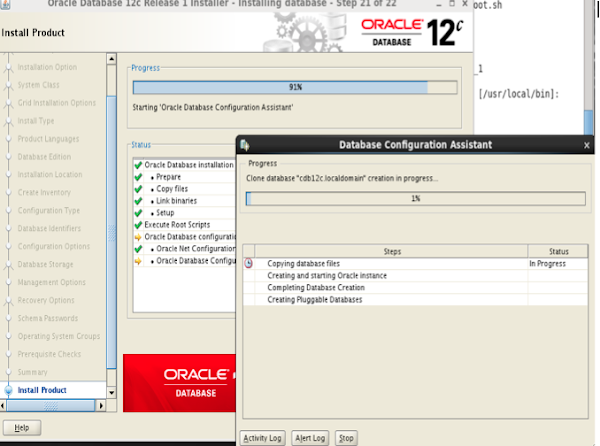
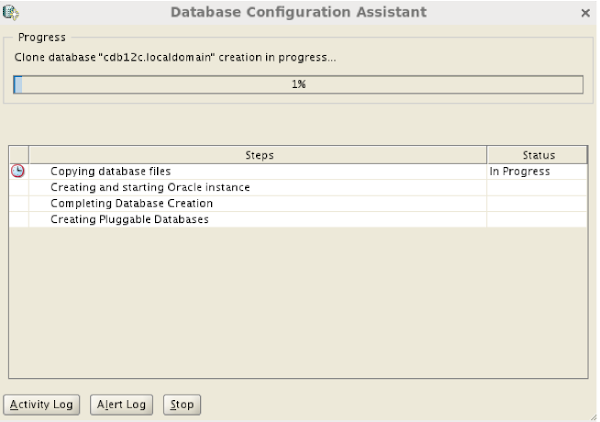
- Progress

- Completed


- Log on to Enterprise Manager.
